
Welcome.
We’re excited to help you grow your very own crop of delicious oyster mushrooms!
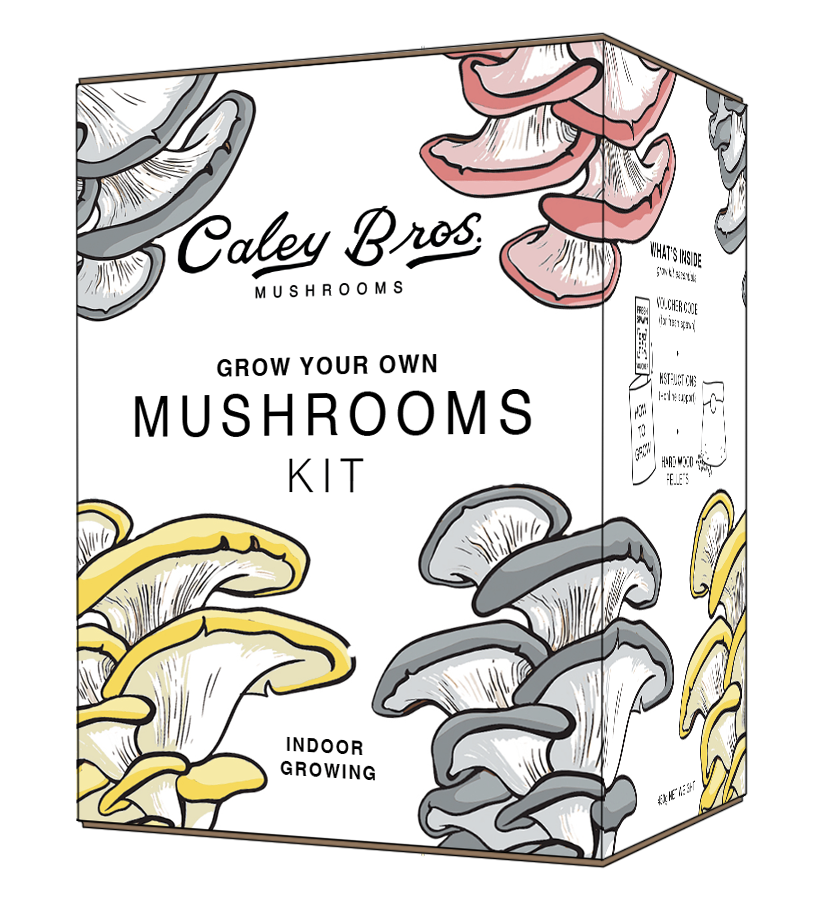
Our Grow-Your-Own Mushroom kits are super easy to set up and a fantastic way to learn not just how to grow mushrooms - but how mushrooms grow.
On this page you’ll find a full and extensive set of instructions for every stage of your growing journey, including a link to redeem your mushroom spawn - read about the different types and add to your cart.
All designed for indoor growing.
LARGE PRINT instructions available at the end of this page.
Your kit has two simple stages: MAKING & GROWING.
Stage 1: MAKING
First, you need to inoculate the substrate - or in simpler terms, plant the mushroom seeds (spawn) and grow the roots (mycelium).
Order Your Fresh Spawn
Since mushroom spawn is alive, it needs to be fresh and healthy to grow. We keep it chilled at the farm until you’re ready. Use the link below to order your fresh spawn.What is Mycelium?
Mycelium is the root system of a mushroom. It looks like a fine white network that spreads and binds its growing environment together. Your fresh mushroom spawn will arrive inoculated with mycelium, appearing as white, seed-like clusters.Mix & Hydrate
When your spawn arrives follow the instructions in your booklet.It’s a simple as:
1. Mix your sawdust pellets into your spawn.
2. Add fresh, clean water
3. Let nature do the rest!
You’ll find a full set of instructions below.
Stage 2: GROWING
Once your mycelium is fully developed, it’s as easy as OPEN – WATER – GROW!
Choosing your Mushrooms…
Here’s a bit more about the different types of mushrooms you can choose to grow.
Grey Oyster mushrooms - A classic and versatile mushroom, Grey Oysters are one of the easiest varieties to grow, producing generous harvests with minimal effort. Their flavour is mild, earthy and subtly nutty. Grey Oysters have a delicate texture that absorbs marinades and cooking flavours well.
Pink Oyster Mushrooms -are as beautiful as they are delicious. Their bold colour fades when cooked but their rich, savoury flavour remains. Their flavour delivers a deep umami taste with a hint of smokiness.
Yellow Oyster Mushrooms - With golden-yellow caps, Yellow Oyster mushrooms are a showstopper, adding colour and flavour to any dish - a stunning and rewarding variety to grow at home. They have a mildly nutty with a hint of cashew and develop a light, buttery texture when cooked.
Storing your spawn once delivered:
Grey Oyster Spawn - to be kept chilled till used, around 5 degrees. Use within one month of receipt.
Pink oyster Spawn - to be kept cool, but not chilled below 8 degrees. Use within 3 days of receipt.
Yellow Oyster Spawn - to be kept chilled till used, around 5 degrees. Use within one month of receipt.


Spawn voucher and unique code
1x Sticker
Instruction booklet
360g hardwood pellets in a paper bag.
Inside your kit:

540g fresh tap water
Clean hands and surfaces
Clean pair of scissors
Mister/spray bottle - to water your kit
What you need:
Keep scrolling for a full set of instructions below…
Stage 1
MAKING
Before you begin, wash your hands and clean any surrounding surfaces to keep everything as sterile as possible.
Your spawn will arrive in a clear plastic grow bag with a filter patch. This patch ensures a clean air supply to help your spawn thrive. This bag will also serve as the grow bag for your kit.
Your spawn is made up of a seed mixture and mycelium (the white, web-like substance).
Sometimes, the spawn may form a solid white mass. If this happens, gently squeeze the bag to break the spawn up into a loose mix of seeds and mycelium. Don’t worry if some clumps remain; just do your best without damaging the bag.
1: Add the hardwood pellets
Unseal the top of your grow bag and pour in the hardwood pellets.
Holding the top of the grow bag closed, gently shake the bag to evenly mix the spawn with the pellets.
2: Add water & seal
Place the grow bag back in the box and slowly add the water into the pellet and spawn mix.
Fold the top of the bag over twice and seal it using the sticker provided.
Do not cover the white filter patch.
3: Let it settle & store
Place your grow kit upright in a dark corner in your kitchen or in a cupboard, at a steady temperature of 16-20 °C. Avoid temperature fluctuations as this can lead to unwanted mould.
Do not close the top of your box completely - fresh air is essential for growth.

1.
2.
3.
What to Expect
Over the next 18-21 days, you’ll see the mycelium beginning to grow; quickly spreading and binding the mixture together just like it would in nature, inside decaying logs or deep in the soil.
After 18-21 days, your kit will become a fully colonised substrate block, firm and covered in white mycelium; both are a signs that your kit is ready for the next stage!
GROWING
Stage 2
1. Opening your kit
Take your kit out of the box.
Fold down the top of the grow bag, flush with the substrate inside and covering the filter patch - this prevents mushrooms from growing in this area.
Using clean scissors, make a single 10 - 12 cm cut in the front of the plastic bag. Do not peel back or remove any part of the plastic.
Place your kit in a bright, airy location, out of direct sunlight and away from strong heat sources.
2. Daily care
Mist the opening 3-4 times a day to encourage growth.
Don’t feel you need to water the substrate inside the bag - your mushrooms will grow towards the moisture on the outside of the plastic.
Extra tips: If you can’t mist regularly or notice the substrate drying out, dampen a clean tea towel and lie it over your kit during the day or night. Be sure to re-soak the towel daily to maintain humidity.
3. Tending to your Mushrooms
Your mushrooms should begin to appear within 21 days and will be ready to harvest 5-7 days after they first appear.
Keep misting 2-3 times a day
Pick your mushrooms when their caps begining to flatten out.

1.
2.
3.
To harvest: Pinch and twist the cluster at the base to remove.
If you notice a white dusting under your kit, these are mushroom spores, and means your mushrooms are fully mature. This can be wiped away with soapy water.
If your mushrooms start to dry out, they’re ready to be harvested.
How to get more mushrooms from your kit:
You can try for a second flush by allowing your kit to rest - this gives the mycelium a chance to regrow.
Rest Phase:
Store your kit in a dark cupboard at a stable temperature.
Tape the original opening closed to reduce the risk of contamination.
Let it rest for at least one week before restarting the process.
Rehydrating & Restarting Growth:
Reopen your grow bag and submerge, with the opening facing down, in clean, cold water for 4-6 hours.
Drain any standing water before returning the kit to its growing spot.
Repeat the spraying and care process as before.
Each cycle increases the chance of contamination, so watch for any green spots inside the bag. If contamination appears, it’s best to discard the kit and start fresh.
Remove your substrate from its grow bag, and let it dry out - disposed of with your household waste. We do not recommend composting or putting yellow or pink oyster substrates into your garden, compost or food waste.
You can recycle the plastic grow bag at any large supermarket facility
Happy growing!
When you have finished growing:

If you’ve enjoyed this project why not explore more of our mushroom growing projects? From indoor to out-door log kits, we have a variety of options to keep your mushroom-growing adventure going.
Ⓒ Caley Brothers 2025