Large Grow Kit Instructions - Oyster, Lion’s Mane, Coral Tooth, Shiitake & King Oyster.

Welcome to your mushroom kit instructions.
Please scroll down until you find the instructions you need for your kit. At the end of each section is a download button so you can download, print and save a copy if needed. If you have any concerns, please email us and we can send you a copy too.
Lion’s Mane, Shiitake & King Oyster instructions are further down.
Grey, Pink, Pale and Tarragon Oyster mushrooms:
When you receive your kit you must open within three days. You will need to source a water mister before starting your kit.
Do not store your Pink Oyster mushroom kit below 10 degrees.
You can store your Grey, and Yellow Oyster mushroom kit in the fridge should you need to wait to grow, but open within one month.
Ideal growing temperature parameters are 17-22 degrees. Lower temperatures can lead to slower growth and higher temps can lead to the substrate and mushrooms drying out, if not sufficiently watered during the day and growing period.
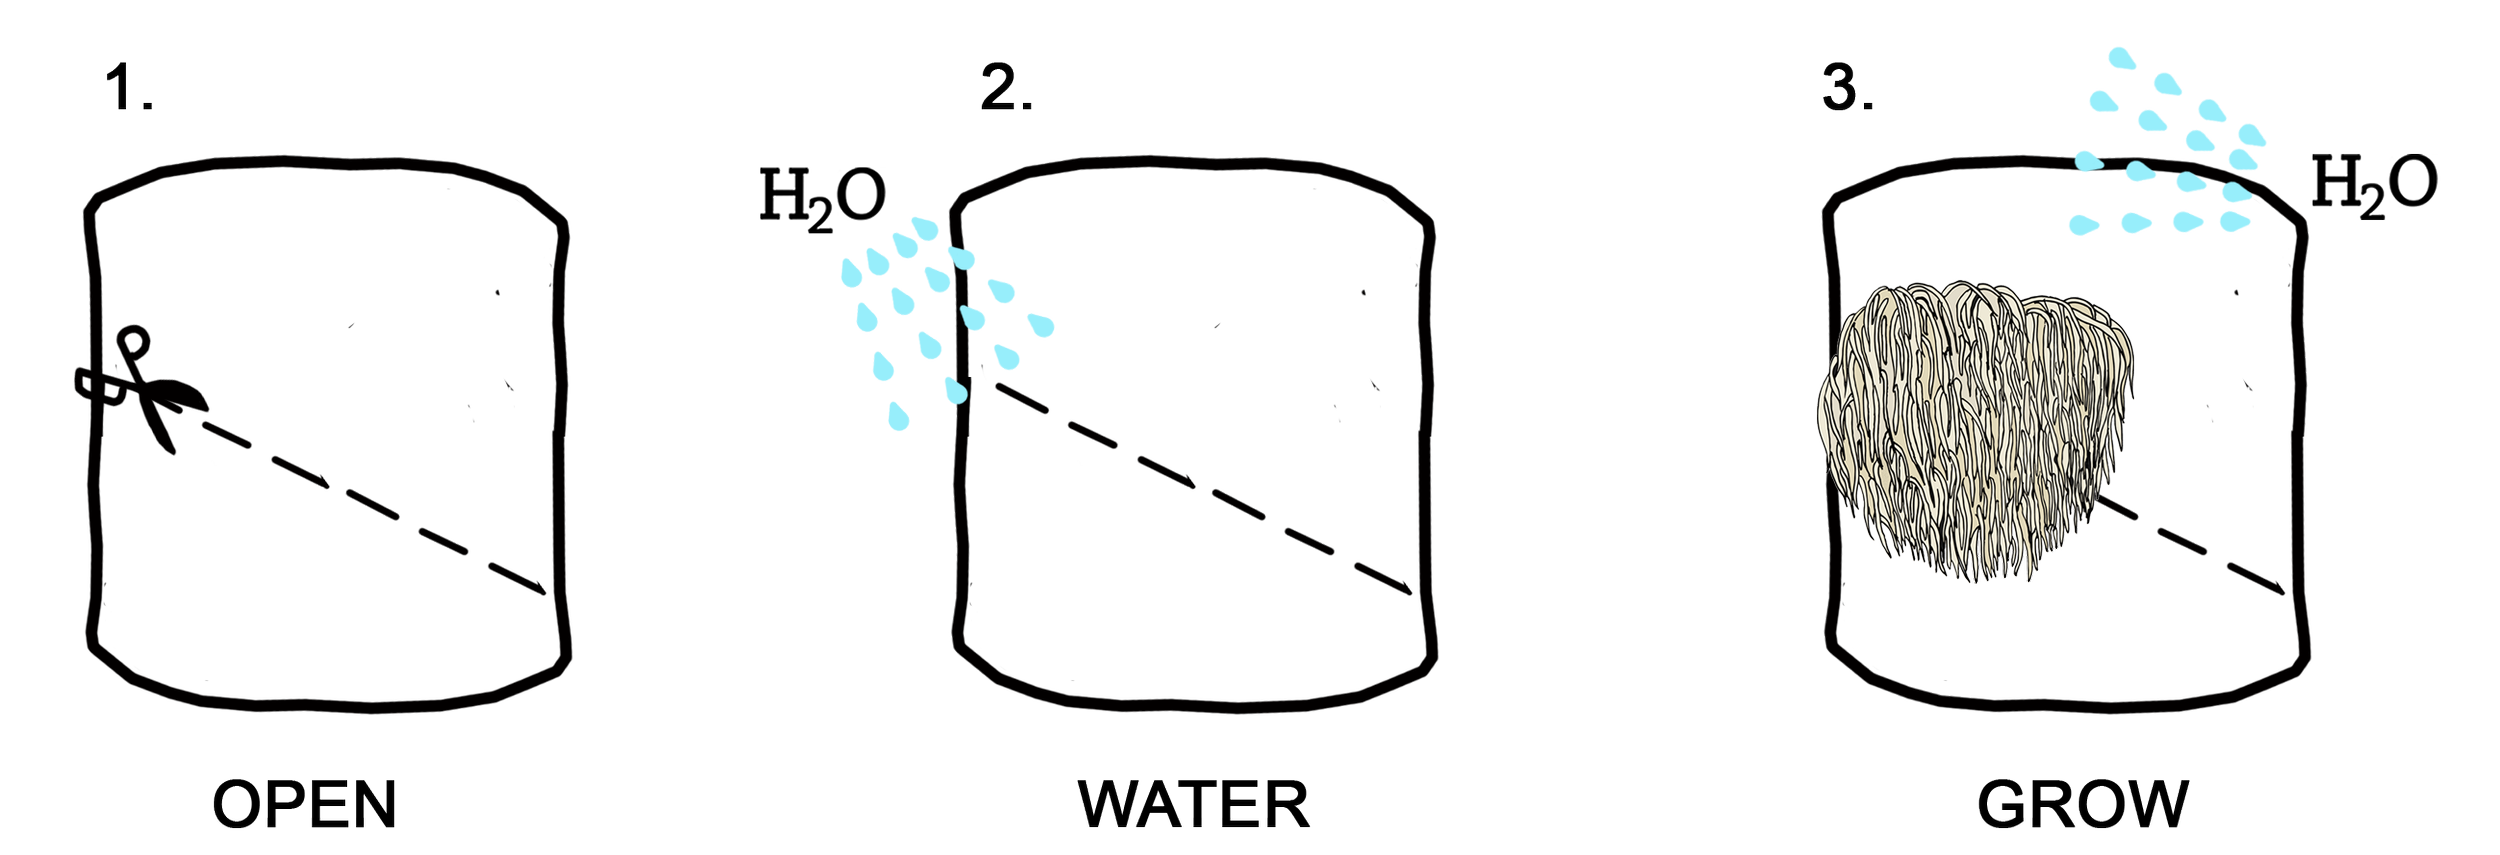
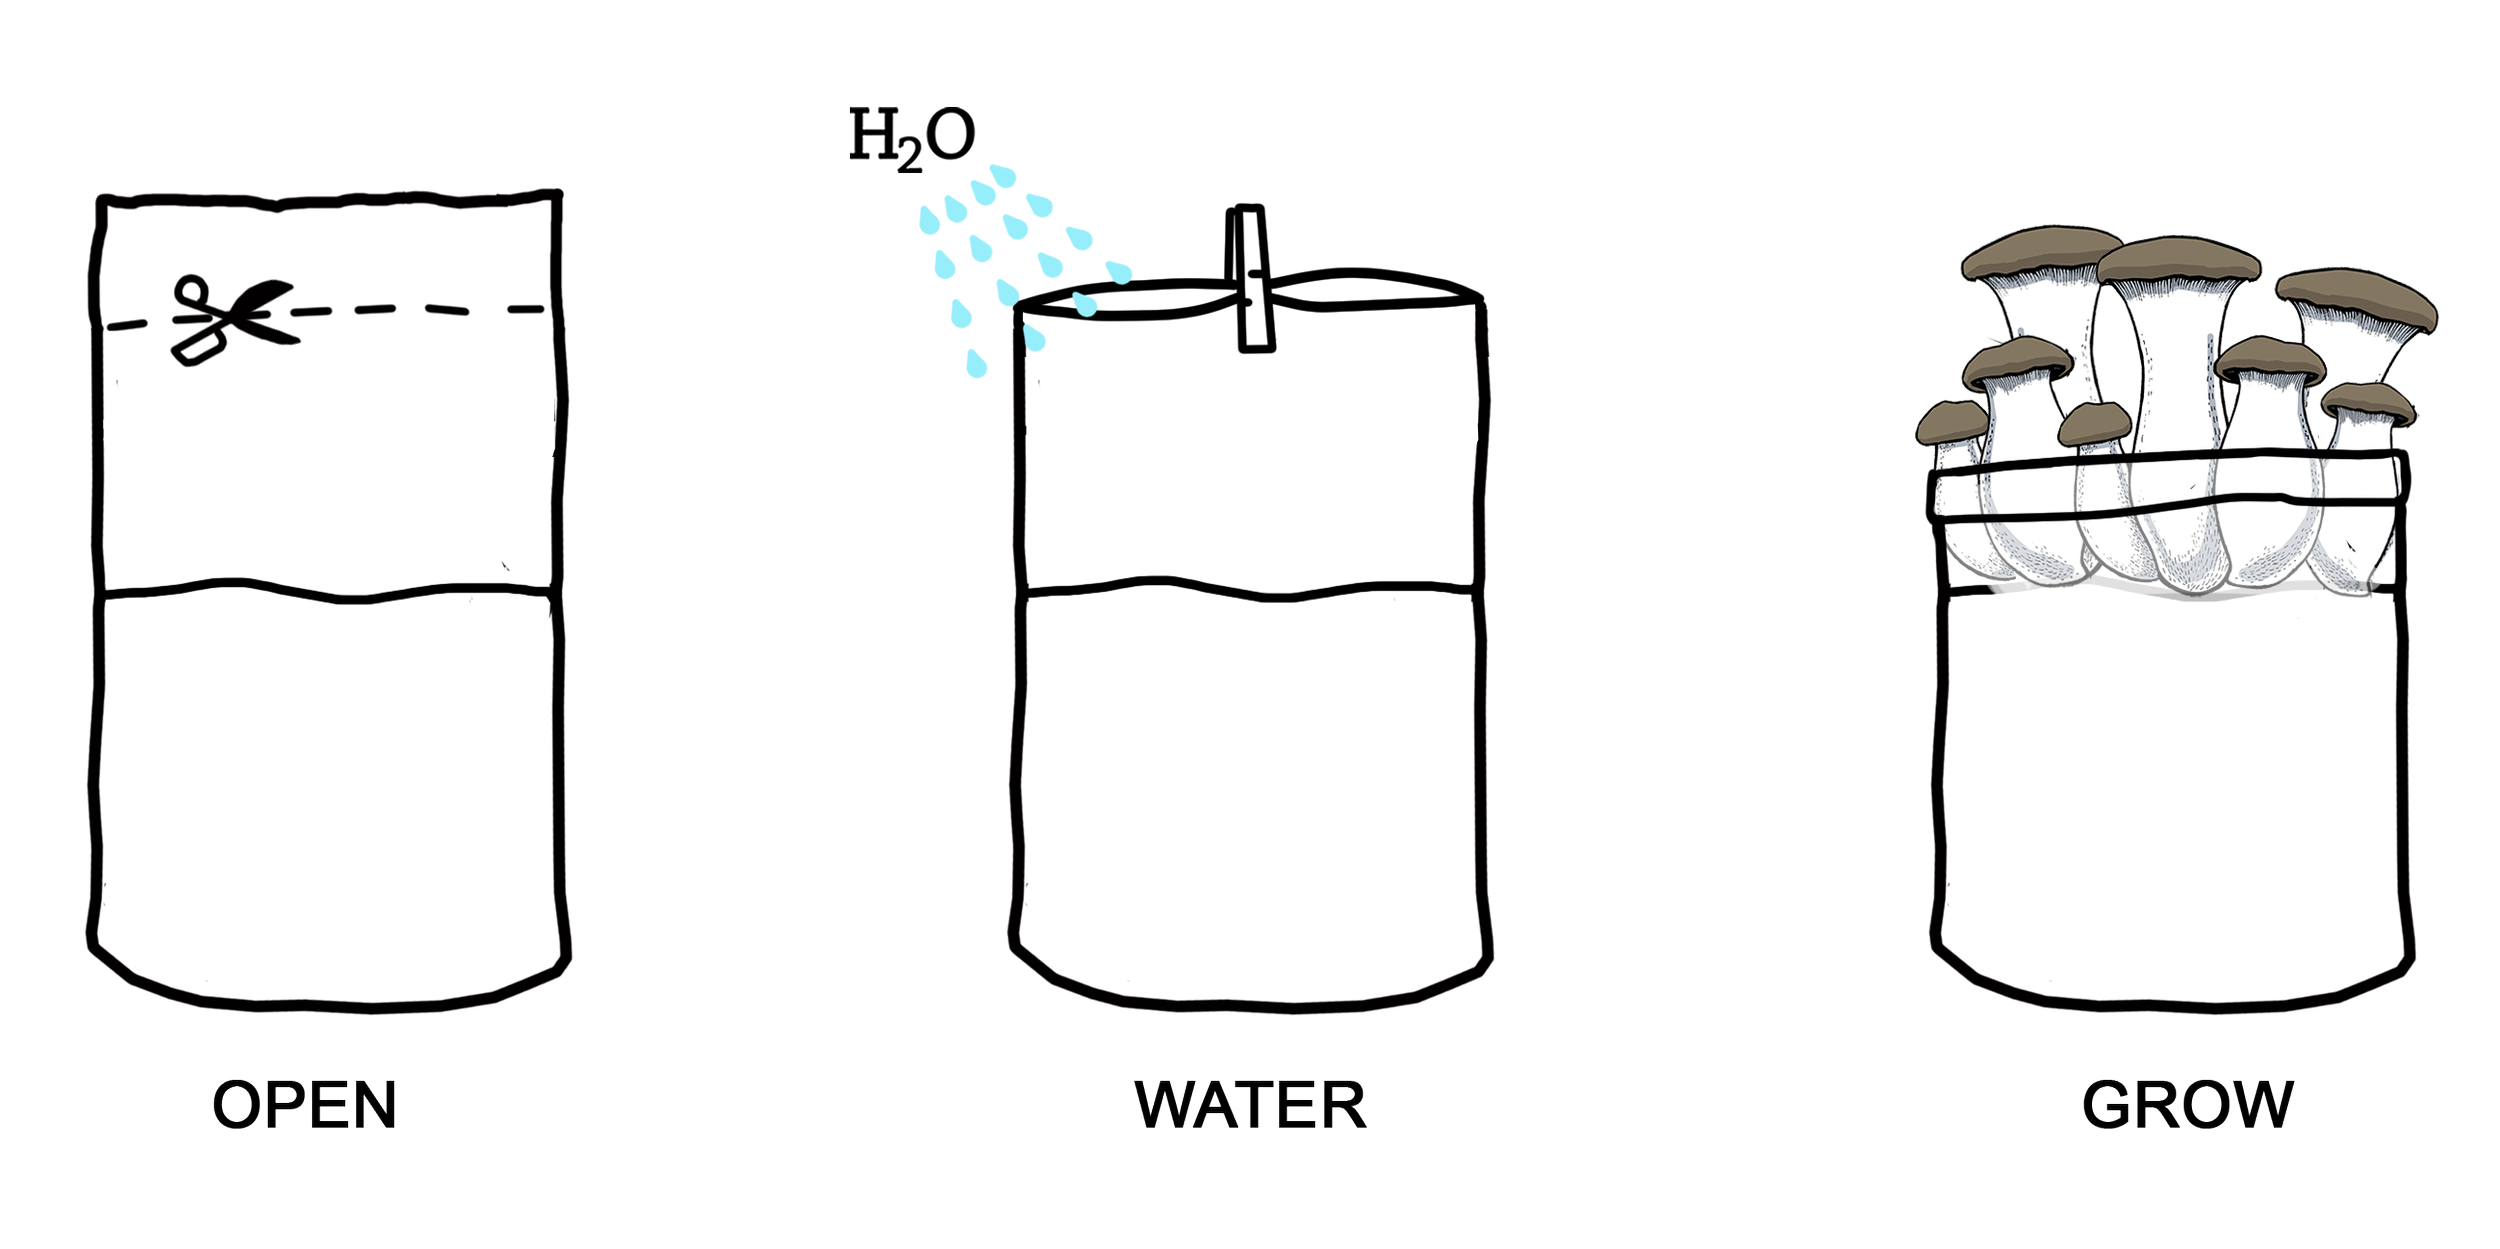
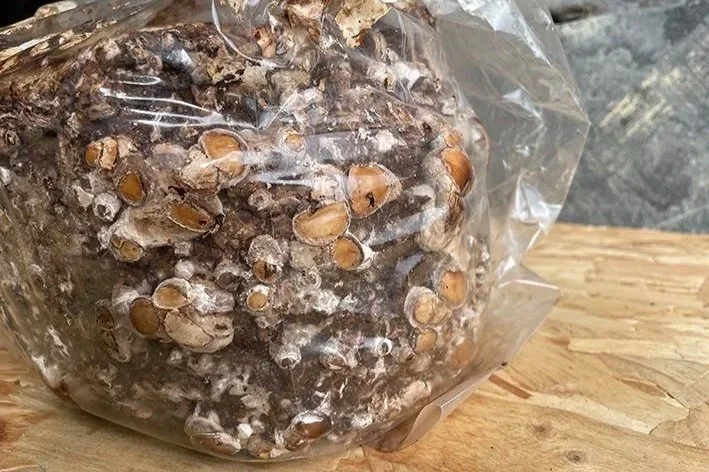
You will have received a fully colonised substrate grow block within a sealed grow bag. The white patch is a filter patch. The top of the grow bag will be taped down around the substrate block. Do not un-tape it. This is to make sure there are no other areas for your mushrooms to grow, ensuring they’ll grow from the opening you’re about to make in the grow bag.
Open your kit with very clean scissors, carefully cut the grow bag in a single diagonal line approx.15-20cm across the front of your substrate block. Do not carve, dig or scratch into substrate surface, and do not peel back the opening of the grow bag.

Gery, Yellow and Pink Oyster mushroom instructions.
This opening will allow enough air and water into the substrate to initiate fruiting. Please trust the process.
Place your kit in a light position and out of direct sunlight. Mist the opening of your kit twice a day with water. You can expect to see the primordia of your mushrooms forming within 14 days. Your mushrooms will be ready to harvest 5-7 days later.
Should there be any delay in your primordia forming within the stated times do contact us at enquiries@caleybrothers.co.uk with photos so we can advise on the health and wellbeing of your kit.
Continue to water your mushrooms once they begin to form and until you harvest them, give a light misting twice a day during the growing phase.
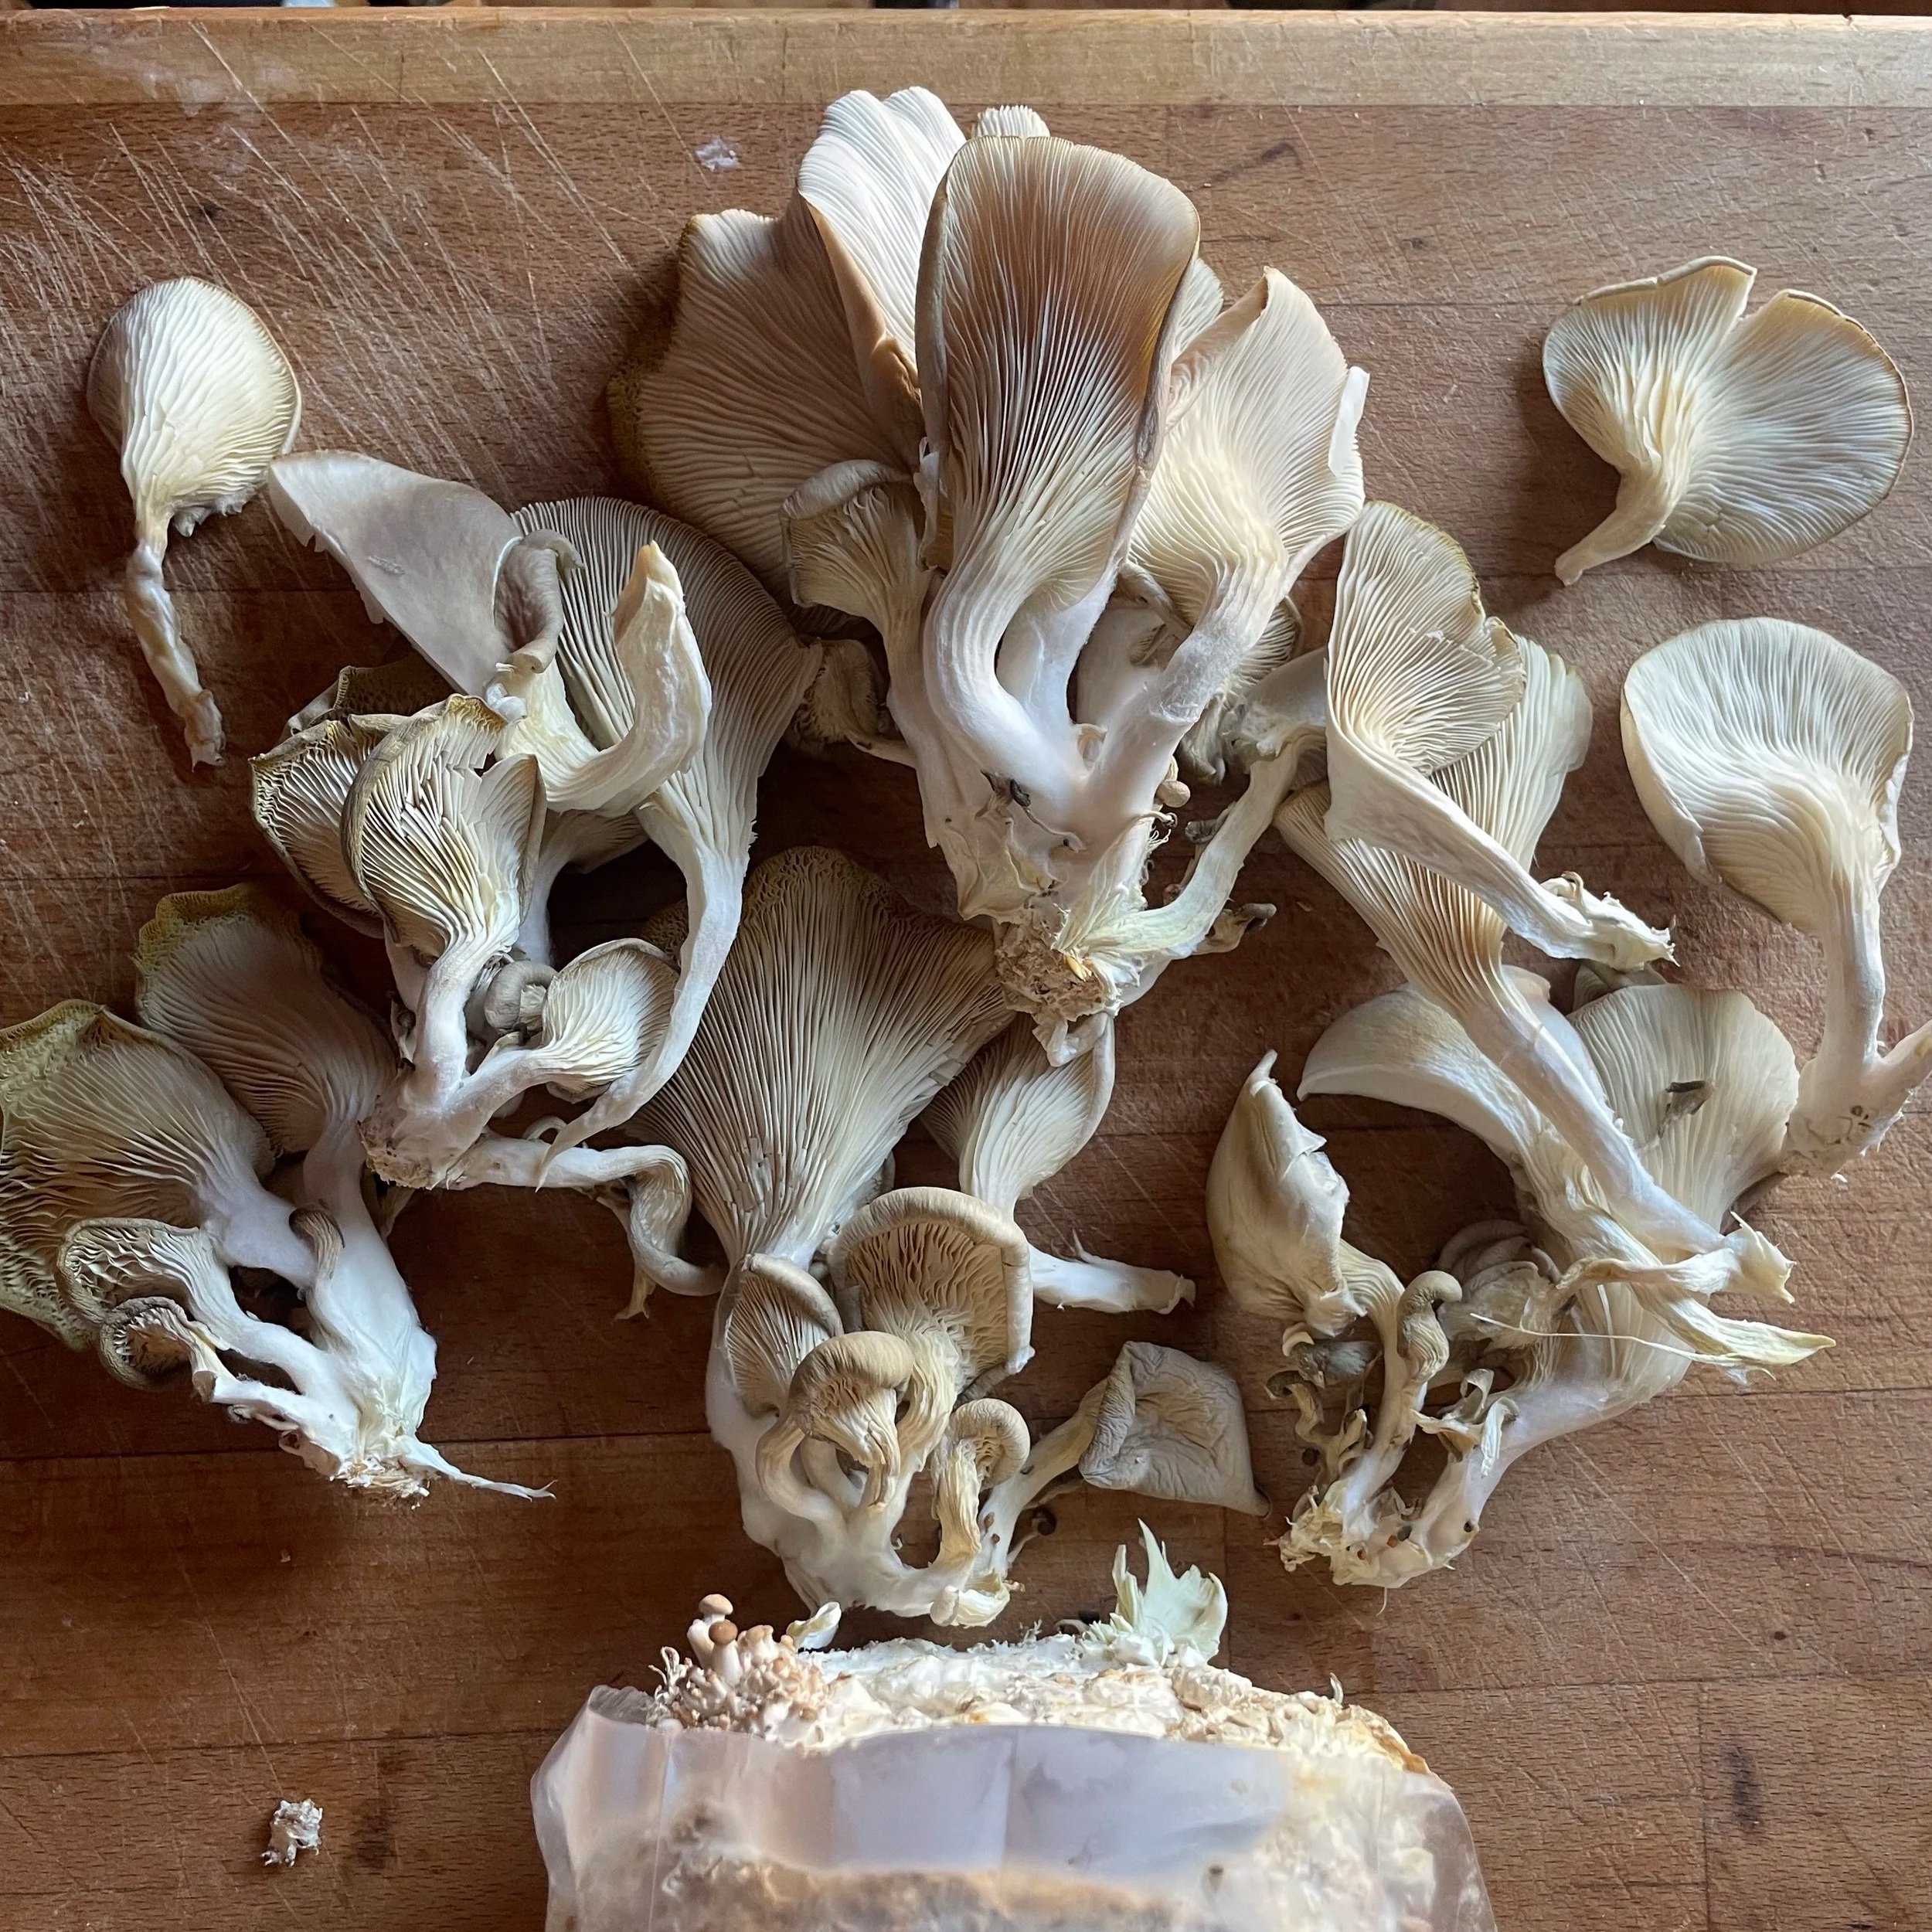
Harvest your mushrooms once the largest in the flush begin to flatten out at the edge of the mushroom and before they begin to dry out.
Remove all mushrooms at once, the smaller mushrooms will not continue to grow once some have been harvested.
Harvest each cluster of mushrooms close to the substrate base, remove any lumps of mushroom from the kit to prevent spoiling.
Continue to mist your kit twice a day in between harvests. Your second and subsequent flushes will take a little longer to appear but persevere with watering to encourage growth of fresh primordia. Your kits should continue to smell fresh and healthy and looking well with lots of healthy white mycelium growth all over.
When you have finished growing: Remove your substrate from the plastic bag - you can recycle the plastic at any large supermarket facility.
Your fruiting block should be left to dry out then disposed of into your household waste. We do not recommend composting or putting substrates into your garden, compost or food waste.
You can read more about this HERE.
Ⓒ Caley Brothers 2025
ORDER A KIT

Lion’s Mane Instructions.
Instructions for
Lion’s Mane & Coral Tooth kits
For best results you should open your kit immediately. It will store well if refrigerated, for up to one month. You will need to source a water mister before starting your kit.
You should expect your mushroom within 4 weeks of opening and spraying.
Ideal growing temperature parameters are 17-22 degrees. Lower temperatures can lead to slower growth and higher temps can lead to the substrate and mushrooms drying out quicker.
How to get it started: 1. Make a long straight slice in the side of your plastic grow bag with a clean pair of scissors. Do not damage the surface of your substrate. Choose a location to let your mushroom kit grow that is away from any draft or direct sunlight.
Lion’s Mane Instructions.
2. You need to spray a mist of water across the opening of your grow kit 1-2 times a day, more often in hot weather. Try not to over water your kit. You want to keep the surface of the substrate damp and humid but not wet.
3. Once your mushroom appears, do not spray water directly onto the mushroom as this can cause discolouration. Instead spray a fine mist over the top of your kit from a height to maintain humidity.
Your kit will need to be grown in natural light but away from direct sunlight, drafts, or cool breezes. Occasionally your new mushroom will appear a blush pink colour - this is a sign of new growth and perfectly normal. If your mushroom begins to turn yellow or brown this could be a sign it’s in a draft or has gotten too wet. If it begins to dry out it’s likely to be over mature and can be harvested.
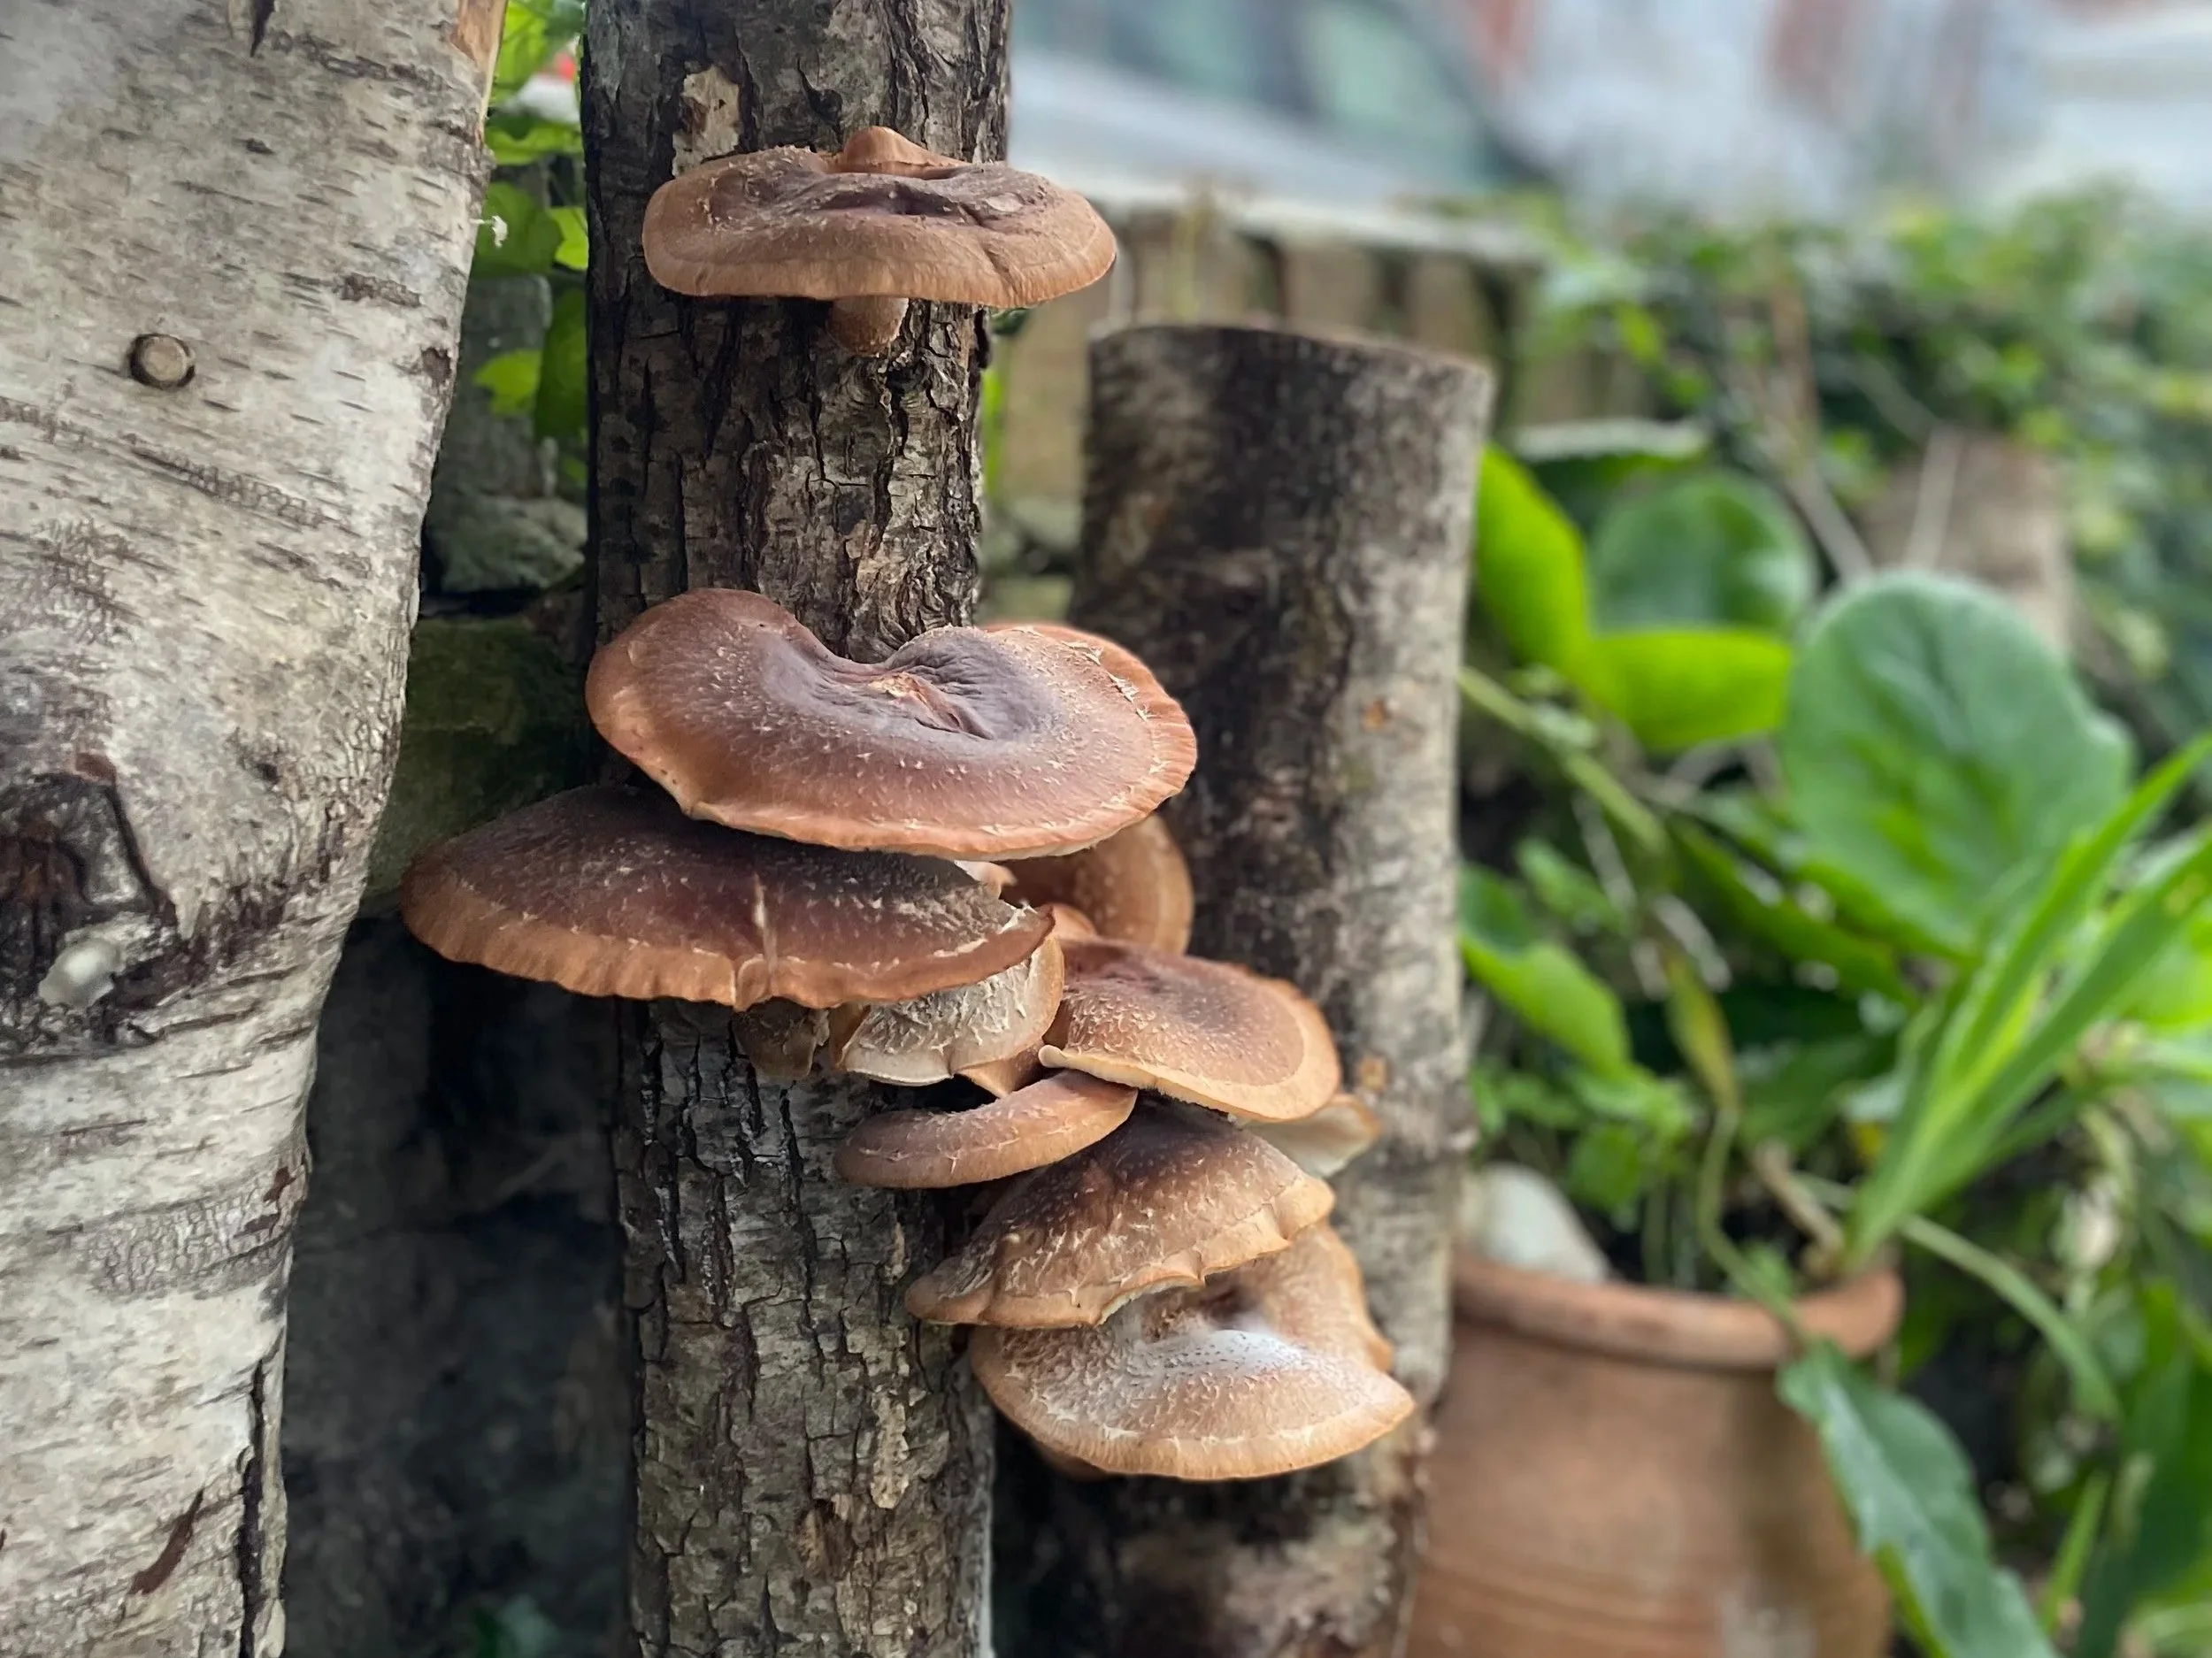
When to harvest: Lion’s Mane or Coral Tooth mushrooms have finished growing when they stop increasing in size and the spines/teeth have grown longer and thicker. Yellow colour is also a sign of maturity. Pick your mushroom when the spines reach about 1cm in length or the texture of the mushroom feels spongey when squeezed gently.
Overly mature mushrooms will drop spores, which show as a white powdery dust. Mushroom shelf life, and flavour is best if you pick before this happens. To harvest, simply grab the mushroom, twist, and pull it off your kit. Store your harvested mushroom in the fridge for up to 5 days, ideally in a brown paper bag.
To get more mushrooms from your kit: You could try for a second flush, once harvested, rest your kit in a dark cupboard for a week. Once rested bring your kit out and submerge in water over night, place back in a light spot away from any draughts and continue to spray three times a day until your second flush appears and is ready to harvest.
When you have finished growing: Remove your substrate from the plastic bag - you can recycle the plastic at any large supermarket facility.
Your fruiting block should be left to dry out then disposed of into your household waste. We do not recommend composting or putting substrates into your garden, compost or food waste.
You can read more about this HERE.
Ⓒ Caley Brothers 2025
ORDER A KIT
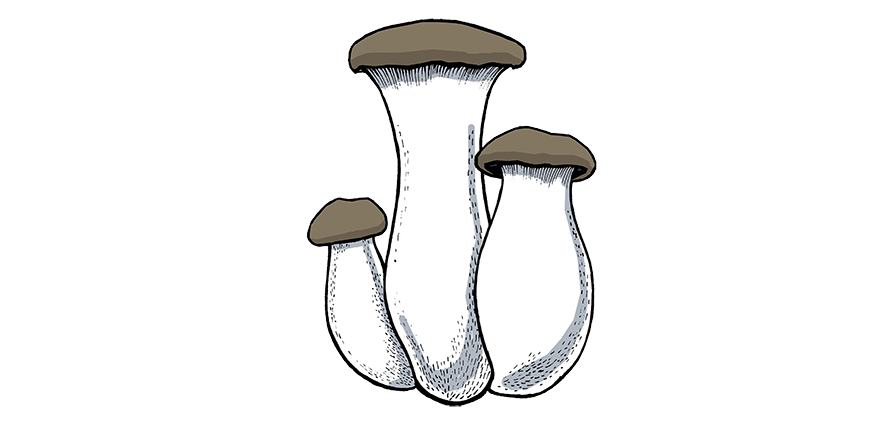
King Oyster Instructions.
Instructions for King Oyster mushroom kit
King Oyster mushrooms are top fruited.
You will need to source a water mister before starting your kit.
Before Opening Your King Oyster kit, it’s important to check for good primordia growth – these are the tiny first stages of mushrooms that will develop into full-sized mushrooms once the kit is opened.

You can see the ‘Primordial’ bobbling on the surface.
This is what where your King Oyster Mushrooms will grow from, and important to establish these before you open your kit.
Your kit may need a few days to establish this growth before it’s ready.
On your King Oyster kit, the growth begins from the top of the block; once the primordia reach about 1–2 cm in height, your kit is ready to open and you can move on to the detailed instructions that follow.
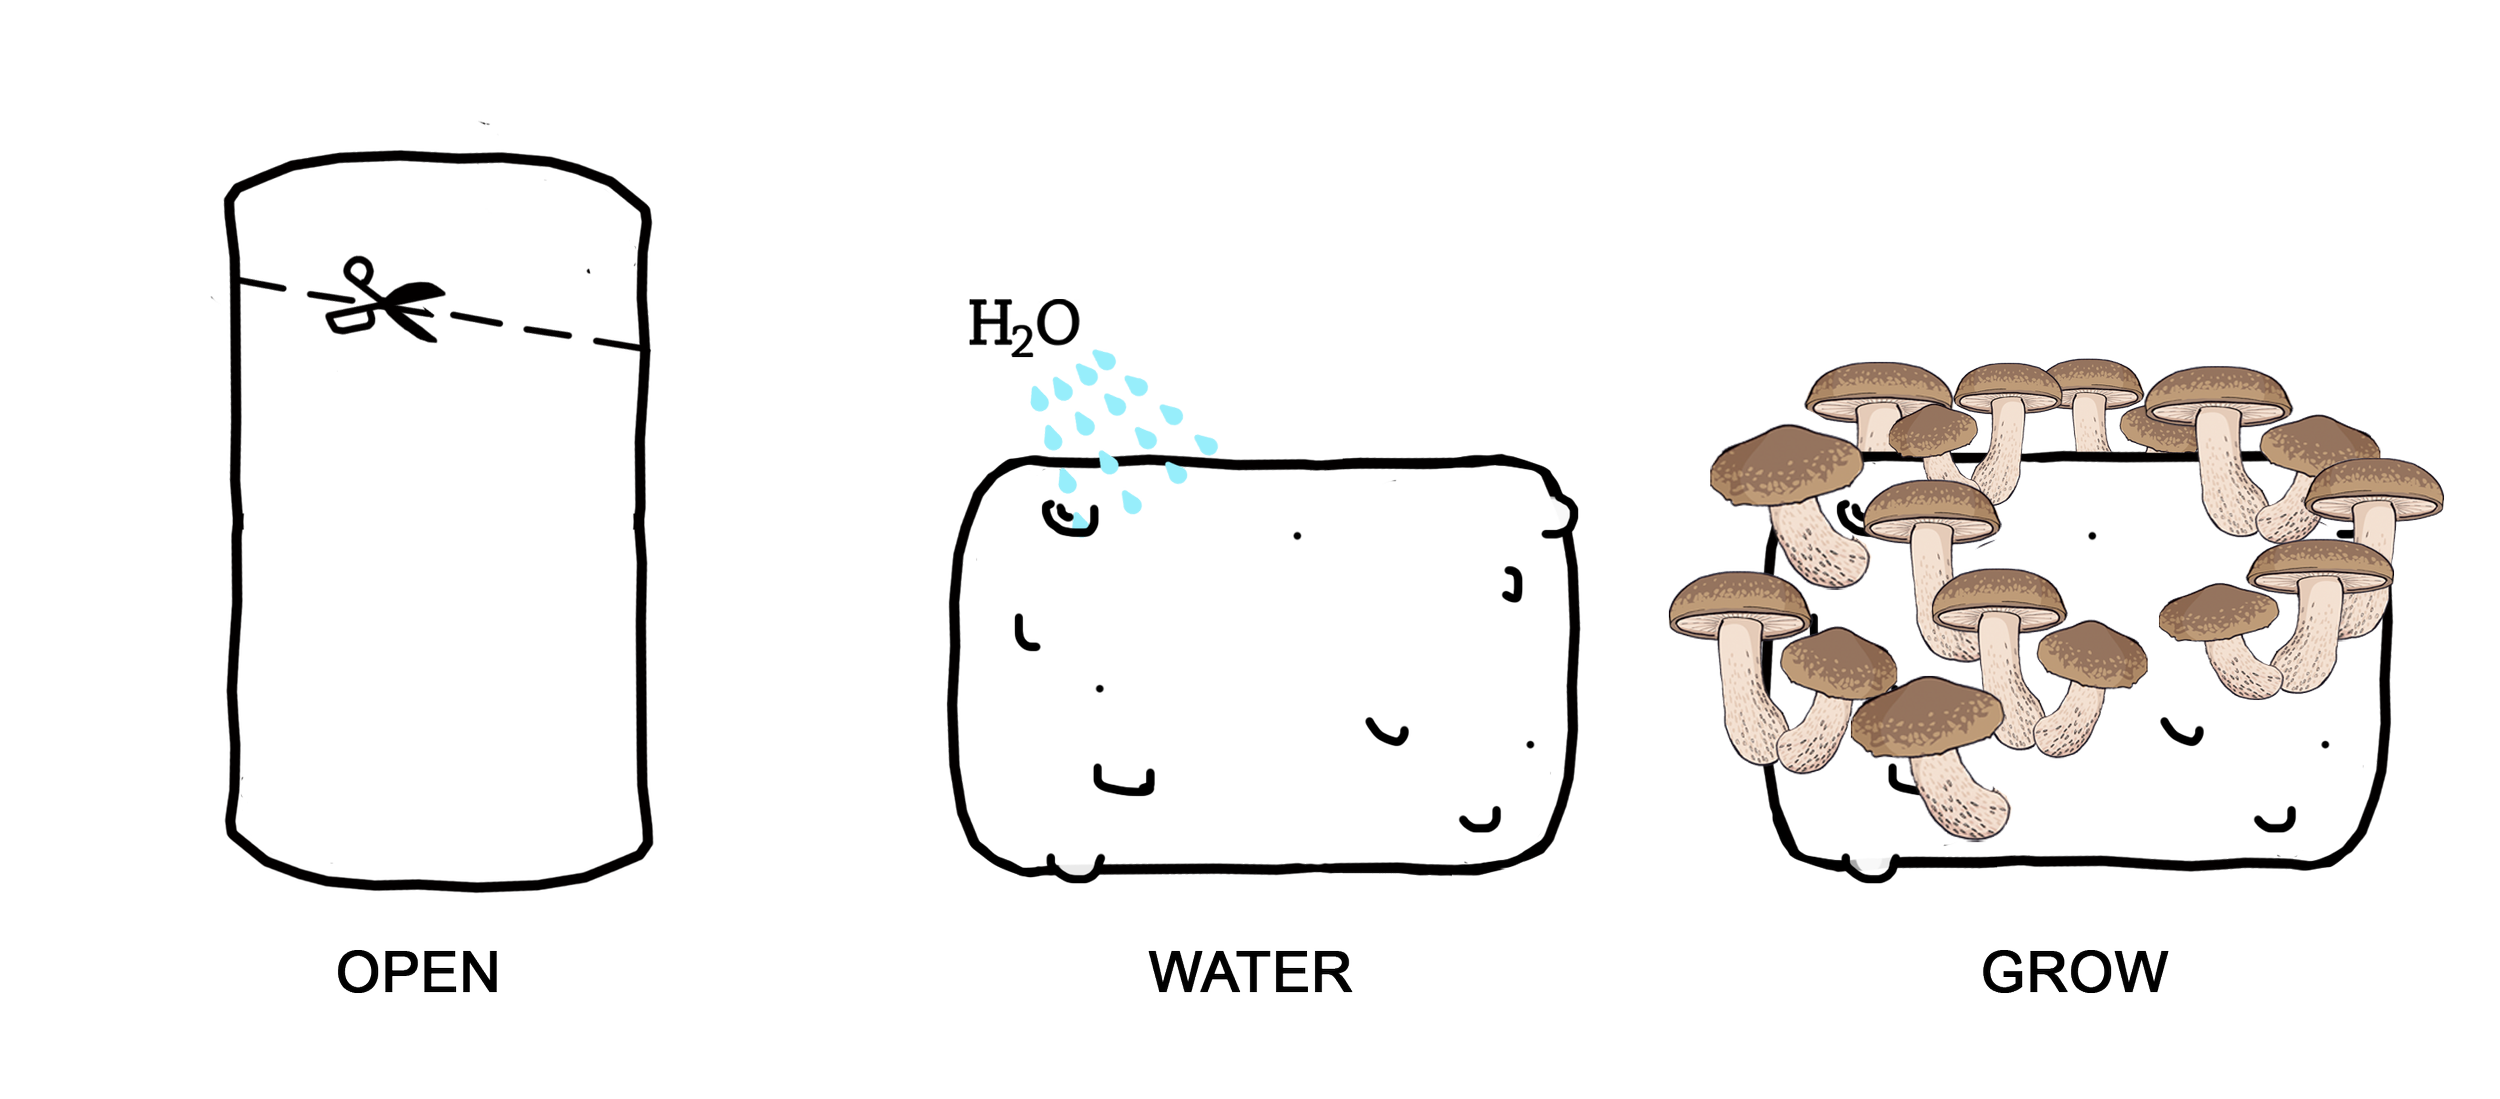
How to open - with clean scissors cut the very top off the grow bag leaving 10cm of bag above the top line of the substrate.
Mist the top surface of the substrate and loosely clip the opening together with a paper clip or peg. This will help prevent the top of the substrate from drying out whilst your mushrooms prepare to grow.
Mist inside your kit twice a day (up peg the top to mist) try not to let the substrate dry out.
Don’t worry if water begins to pool in places, on the top if your substrate, pour away the standing water if it begins to smother the top of your substrate.
Ideal growing temperature parameters are 17-22 degrees. Lower temperatures can lead to slower growth and higher temps can lead to the substrate and mushrooms drying out quicker.
As your King Oyster mushrooms grow larger in size, they may push against the sides, you can fold down the opening of the bag to release the mushrooms, letting them grow more freely.
King Oyster Instructions.
When fully grown, you can harvest your mushrooms from the top of the kit as they mature, when the caps turn up and the mushrooms slow in growth. Do this with a sharp knife by slicing close to the base.
You may see some small mushrooms forming around the side of your kit. Once the top mushrooms have reached maturity and have been harvested, you can trim the grow bag to release the side forming mushrooms. They have grown here because of the humidity at the side of the kit.
It may be difficult to get a second harvest from a King Oyster grow kit. You may find sign of mould begin to form on your substrate block before any new mushrooms begin to establish. How ever we encourage you to try.
To do this you can close the top of the kit up and turn the substrate block upside down. Open the bottom of the kit - this is so you can attempt to grow a new flush of mushrooms from the base of the kit. Submerge the kit in clean cold water for 24 hours. The new surface should now be misted twice per day during the growing stage and until the new fruiting bodies fully mature.
Your substrate block should continue to smell fresh and healthy and looking well, with lots of healthy white mycelium growth all over.
When you have finished growing: Remove your substrate from the plastic bag - you can recycle the plastic at any large supermarket facility.
Your fruiting block should be left to dry out then disposed of into your household waste. We do not recommend composting or putting substrates into your garden, compost or food waste.
You can read more about this HERE.
If you have any questions, get in touch via our website
Ⓒ Caley Brothers 2025
ORDER A KIT

Instructions for Shiitake Grow Kit
Open within three days of receipt, if not wanting to grow immediately pop in your fridge for up to one week, your mushrooms may begin to grow even when chilled so get started asap. You will need to source a water mister before starting your kit.
Before Opening Your Shiitake kit - it’s important to check for good primordia growth – these are the first stages of mushrooms that will develop into full fruiting bodies once the kit is opened.
Your kit may need a few days to establish this growth before it’s ready.
You can see the ‘Primordial’ forming under the grow bag.
This is what where your Shiitake will grow from, and important to establish these before you open your kit.
On your Shiitake block, primordia appear as small brown nodules emerging across the surface and sides of your kit, they will begin to press on the outer bag. You want them to be 1 cm in depth before you remove the outer bag. This can take up to 7 days, during which time you can simply leave the block in a cupboard or on the side – no special conditions required.
Once your popping shiitake are a good size, remove all of the plastic grow bag from your shiitake kit, and place on a plate in a bright and light location, but out of direct sunlight to prevent drying out.
Shiitake Instructions.
Mist your Shiitake block at least twice a day, do not let it dry out. You sent want it to sit in a pool of water, so tip away any standing water.
Ideal growing temperature parameters are 17-22 degrees. Lower temperatures can lead to slower growth and higher temps can lead to the substrate and mushrooms drying out quicker.
If you’re finding your substrate block is drying out between mists, lay a clean, damp tea towel over your block and continue to mist each day - making sure the tea towel is nice and damp too.
Your mushrooms can be seen popping from all over your kit, these will continue to grow over the next 7-10 days.
Your Shiitake are ready to harvest when the caps flatten out. Slice off the mushrooms close to the substrate block with a sharp knife or scissors.
Shiitake blocks tend fruit most of their mushrooms on the first flush. We have had occasional success trying for subsequent harvests but very often you will see a green mould beginning to form before your second flush of mushrooms appear. If this happens, compost your kit.
You can try for a second flush by submerging your block in cold clean water for 24 hours. Then place it in the fridge for 24 hours.
Lay a clean damp tea towel over your block and continue to mist each day. The idea behind the tea towel is to prevent drying out without using more plastic. You’ll need to replace and clean the tea towel frequently.
When you have finished growing: Your fruiting block should be left to dry out then disposed of into your household waste. We do not recommend composting or putting substrates into your garden, compost or food waste.
You can read more about this HERE.
See our Instagram for images of stunning Shiitake and recipe ideas.
Ⓒ Caley Brothers 2025
ORDER A KIT
If you need any further guidance or have a question about the growing process please feel free to email us at enquiries@caleybrothers.co.uk and we will help you as soon as we can.
Happy growing.
Latest from the blog