
Oyster Mushroom Kits and how to get growing…
Your Ready-to-Grow kit is the perfect introduction to cultivating mushrooms at home - simple, fun, and highly rewarding.
Our kits are designed to produce your first crop of Grey Oyster mushrooms within 3 - 6 weeks. Just follow the instructions below and watch them flourish!
Inside your canvas bag - You’ll find a colonised substrate block, sealed inside a recyclable plastic grow bag.
A full set of printed instructions
Storage instructions are detialed on the outer sleeve.
Grey & Yellow kits - store refrigerated and open within 1 month.
Pink kits - open once received and do not refrigerate

Setting up your kit -
To induce fruiting, cut along the black ‘X’ marked on the plastic bag, and make a matching cut in the canvas bag.
The opening should align with the cut in the plastic bag, as this is where your Oyster mushrooms will grow.
Do not carve, dig or scratch into substrate surface and do not remove or peel back the opening of the grow bag.
Place the substrate block back into the canvas bag.


Soak the opening under a running tap for 10 seconds to hydrate, and place the bag upright, on a clean saucer or in a shallow bowl.
You will need to spray the opening 2-3 times a day to maintain humidity, which encourages growth.
You do not need to water the inner substrate, so please do not peel the plastic open to expose the substrate inside. Your mushrooms are ready to grow, by spraying the outer bag and keeping this damp, you’re creating a humid environment for your mushrooms to grow towards.
To help keep your canvas bag damp, you can add water to the saucer and the bag will absorb the excess and help your mushrooms to grow,
Keep your mushroom kit indoors, in a well-ventilated and bright location, and out of direct sunlight. Your Oyster mushrooms will start to appear within 2-3 weeks.
Once you start to see your Oyster mushrooms appear, continue spraying them 2-3 times a day to keep them hydrated and prevent drying out.

When to harvest: Your mushrooms should be ready to harvest 5-7 days after they first appear.
How to know when to harvest:
When the caps begin to turn up
They start to dry out
You find a white dusting of spores under your kit*
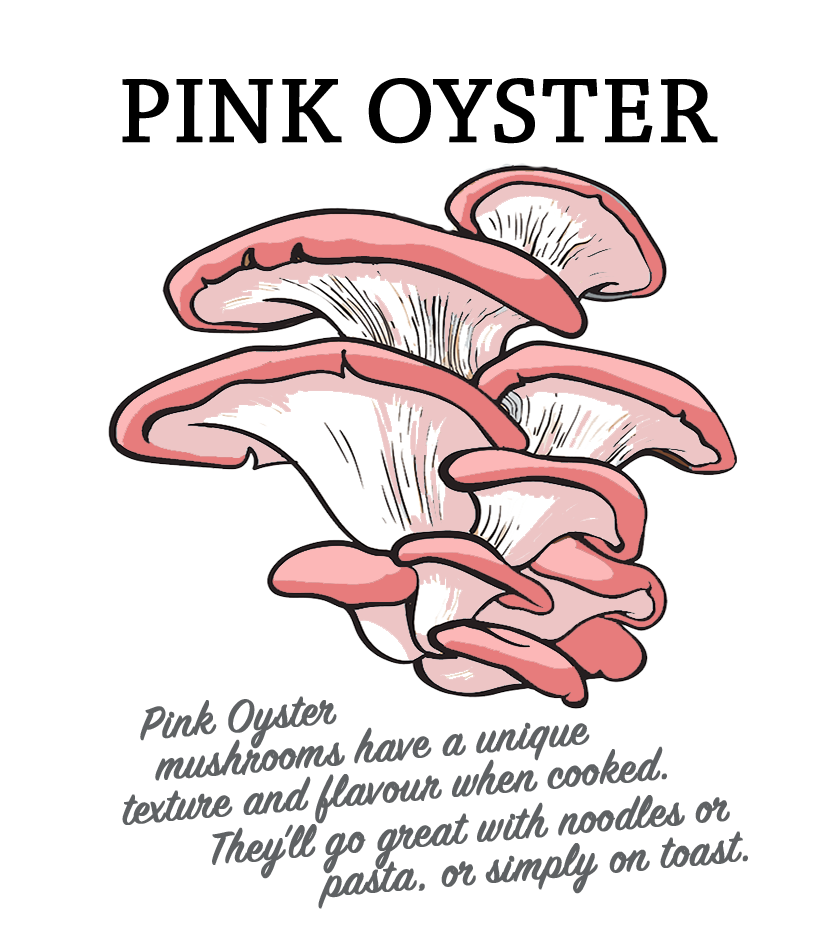
Harvest all the mushrooms at once - to remove them, either snip at the base with scissors or pinch and twist near the base of the cluster. For the perfect harvest, look for when the caps begin to flatten out - just like the illustration on the front of this leaflet.
*If your mushrooms drop their spores, they are easy to clear away, just wipe the surface down with warm soapy water. This is a sign your mushrooms are fully grown and ready to harvest.
Storing your mushrooms: Your Oyster mushrooms will keep well wrapped in a paper bag and stored in the fridge. If they begin to dry out, don’t worry - they’ll still be perfectly delicious. When cooking, the heat will help rehydrate them. They are excellent in soups, stews or risottos.
How to get more mushrooms from your kit: If your kit has healthy, white mycelium you can try for a second flush. Buy letting your kit rest for a few days this allows the mycelium inside to recharge. Each new flush will have fewer nutrients, so subsequent batches may produce fewer mushrooms and take longer to appear.
After harvesting your first flush, remove the canvas bag, and let it dry. Tape the original opening closed to minimise contamination. Store your kit safely in a dark cupboard at a stable temperature for up to 7 days.
To restart, reopen the bag and soak the substrate block in clean, cold water for 4-6 hours. Drain any standing water and repeat the growing process.
Note: Each cycle increases the risk of contamination, so watch for any green spots in the bag.
When you have finished growing: Remove your substrate from the plastic bag - you can recycle the plastic at any large supermarket facility.
Your fruiting block should be left to dry out then disposed of into your household waste. We do not recommend composting or putting yellow or pink oyster substrates into your garden, compost or food waste. You can read more about this HERE.
If you’ve enjoyed this project why not explore more of our mushroom growing projects?
From indoor to out-door log kits, we have a variety of options to keep your mushroom-growing adventure going.


Latest from the blog

Ⓒ Caley Brothers 2025