Growing your own mushrooms
Here you’ll find basic guidelines for growing and harvesting your very own mushrooms and some variety specific tips for our indoor growing kits. Before we send you your kit, we sourced the best quality and freshest spawn and selected the most suitable substrate for your chosen mushroom. We then prepare and care for it until it’s ready to grow.
We’ve taken the difficult bits out of growing mushrooms. We regard all our kits as beginner-level. So, there’s nothing to fear in trying for yourself. It really is as simple as open, water, grow.
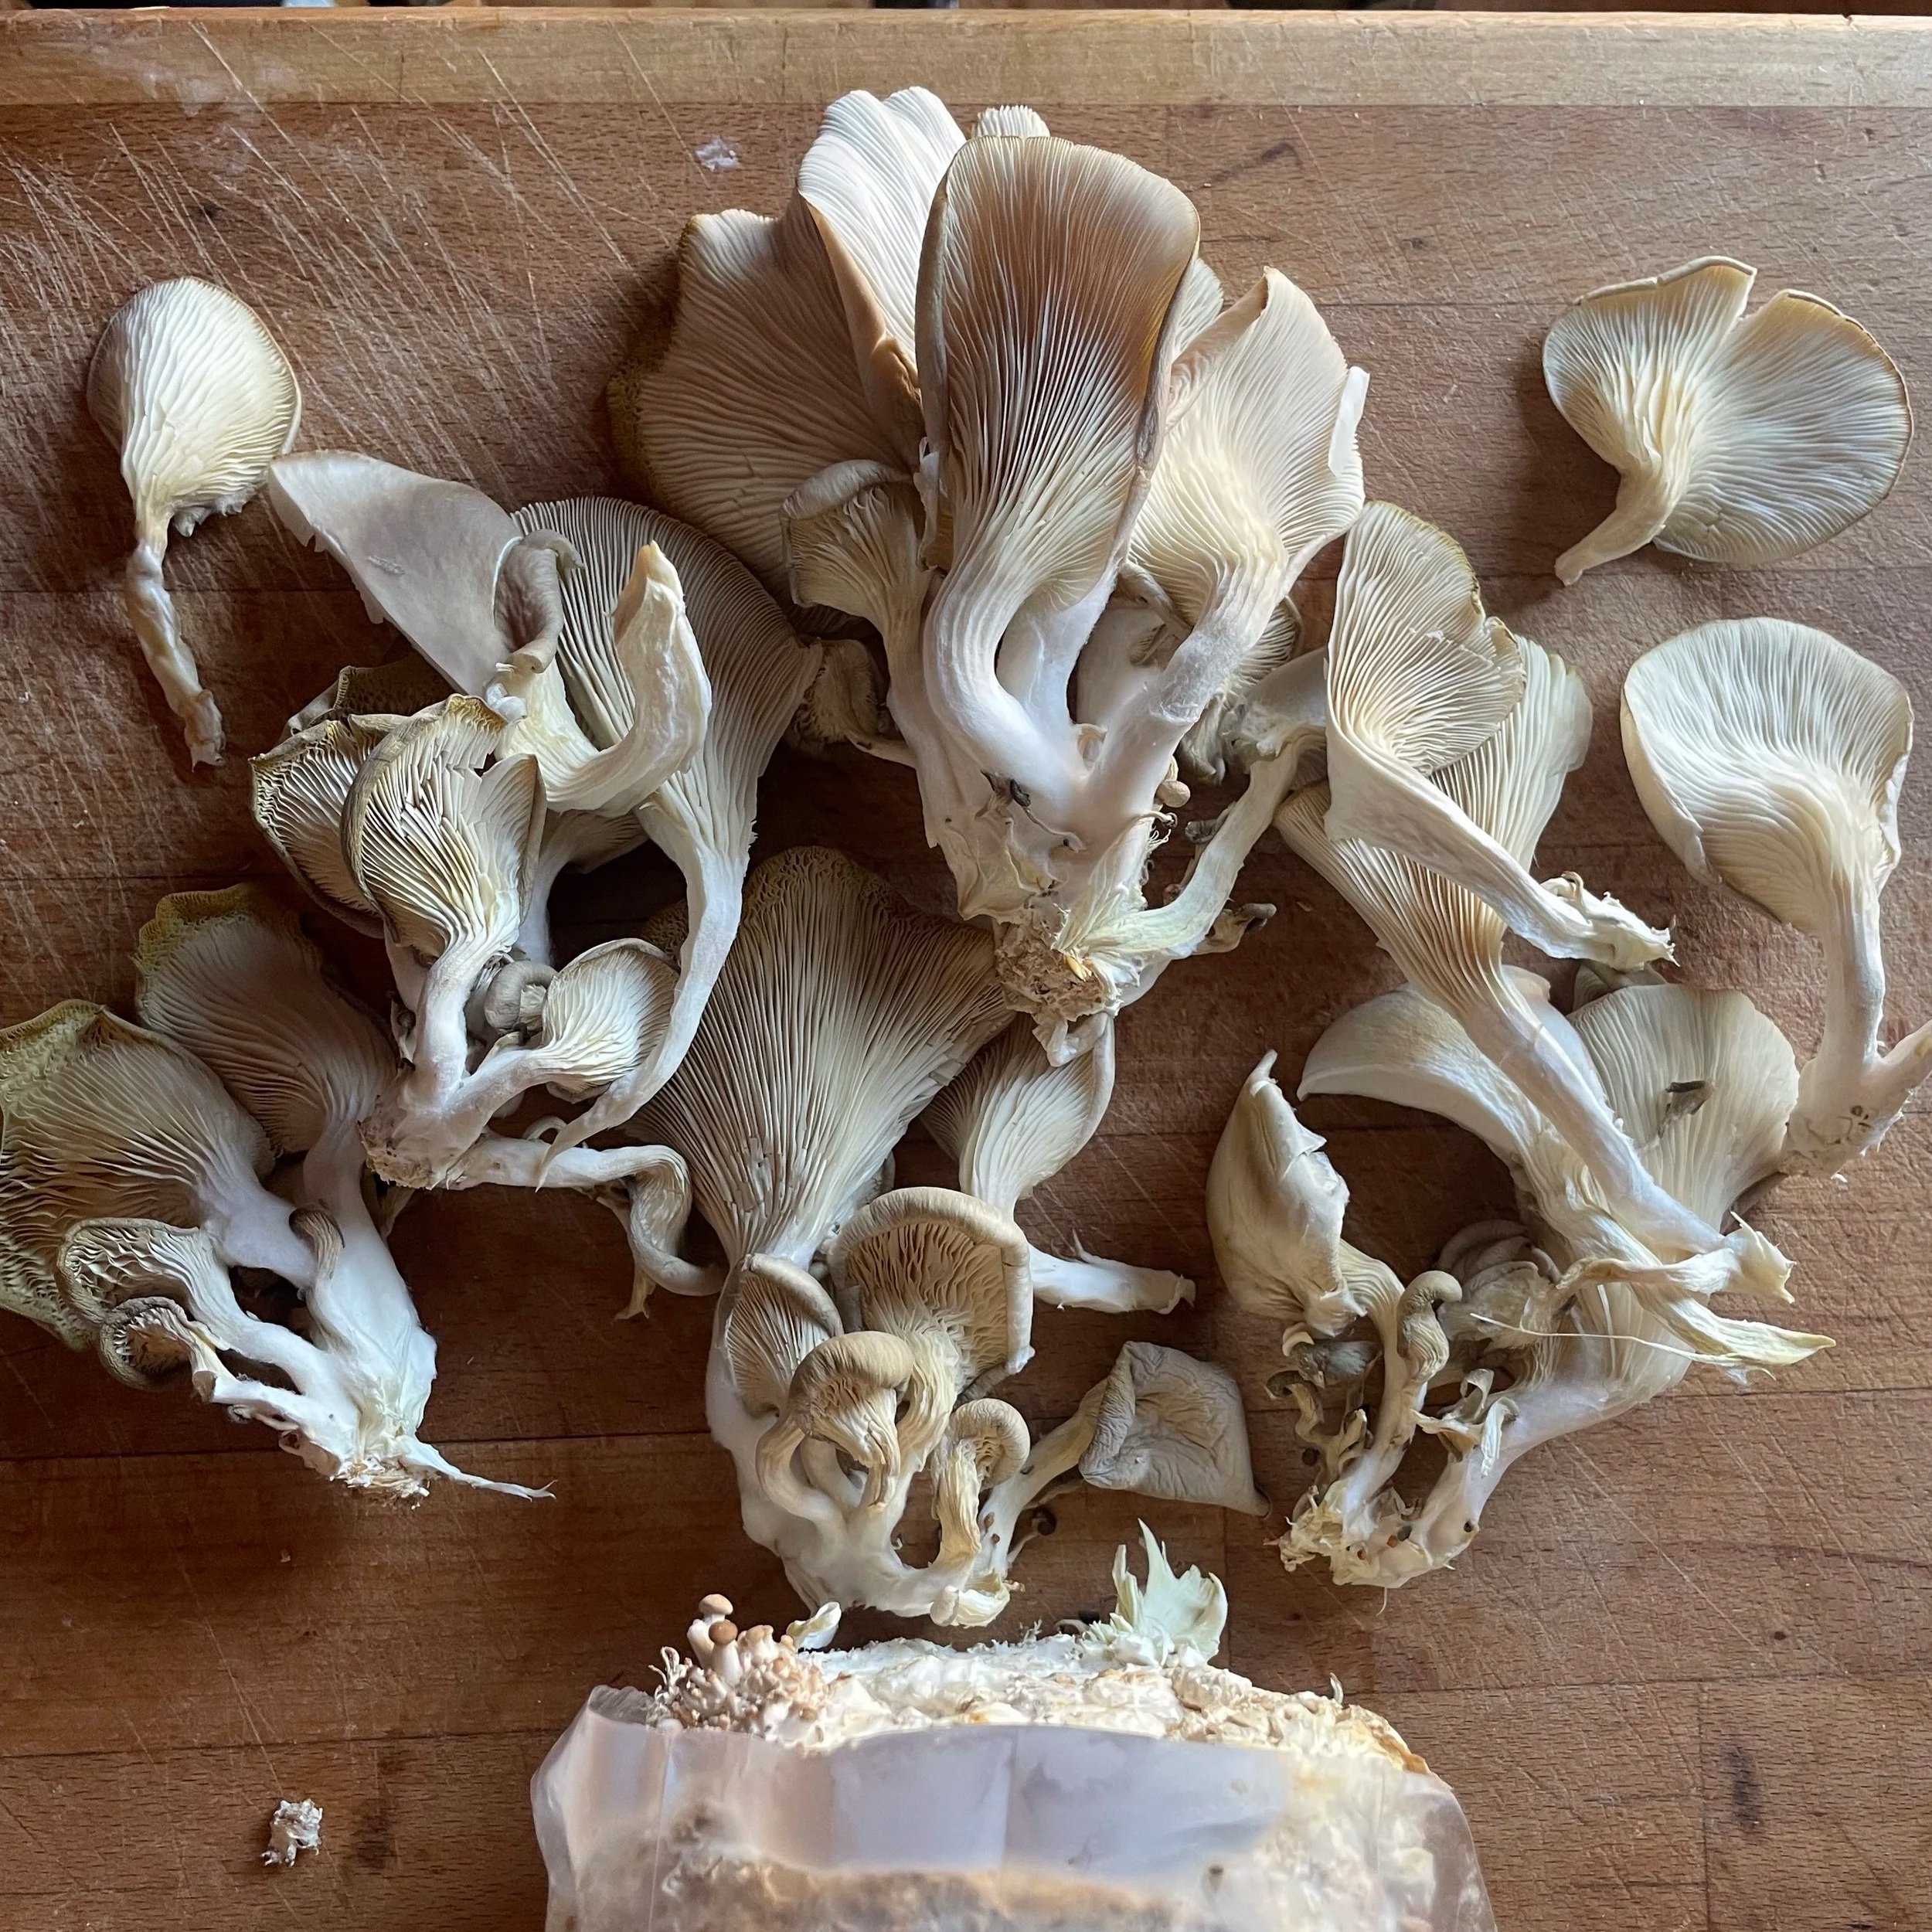
When you receive your kit and open it, you’ll see that the substrate block is covered in mycelium. Each mushroom variety looks slightly different. Some differences include -The Pink Oyster mushroom kit has a pink hue to the mycelial growth, the Shiitake will be at a stage called popcorning-where the fruits can be seen to be popping from the substrate block, the Lions Mane kit has very fine hyphae so the growth may not be seen as clearly as with the Oyster kits and the Yellow Oyster mushroom mycelium smells delicately floral with pale yellow bubbly growth starting to form pins-which will grow into your mushrooms.
Getting started
With all our kits you’ll get a full set of instructions either inside the bag or via a QR code attached to your grow kit.
Each set of instructions will differ depending on the type of mushroom you’re growing.
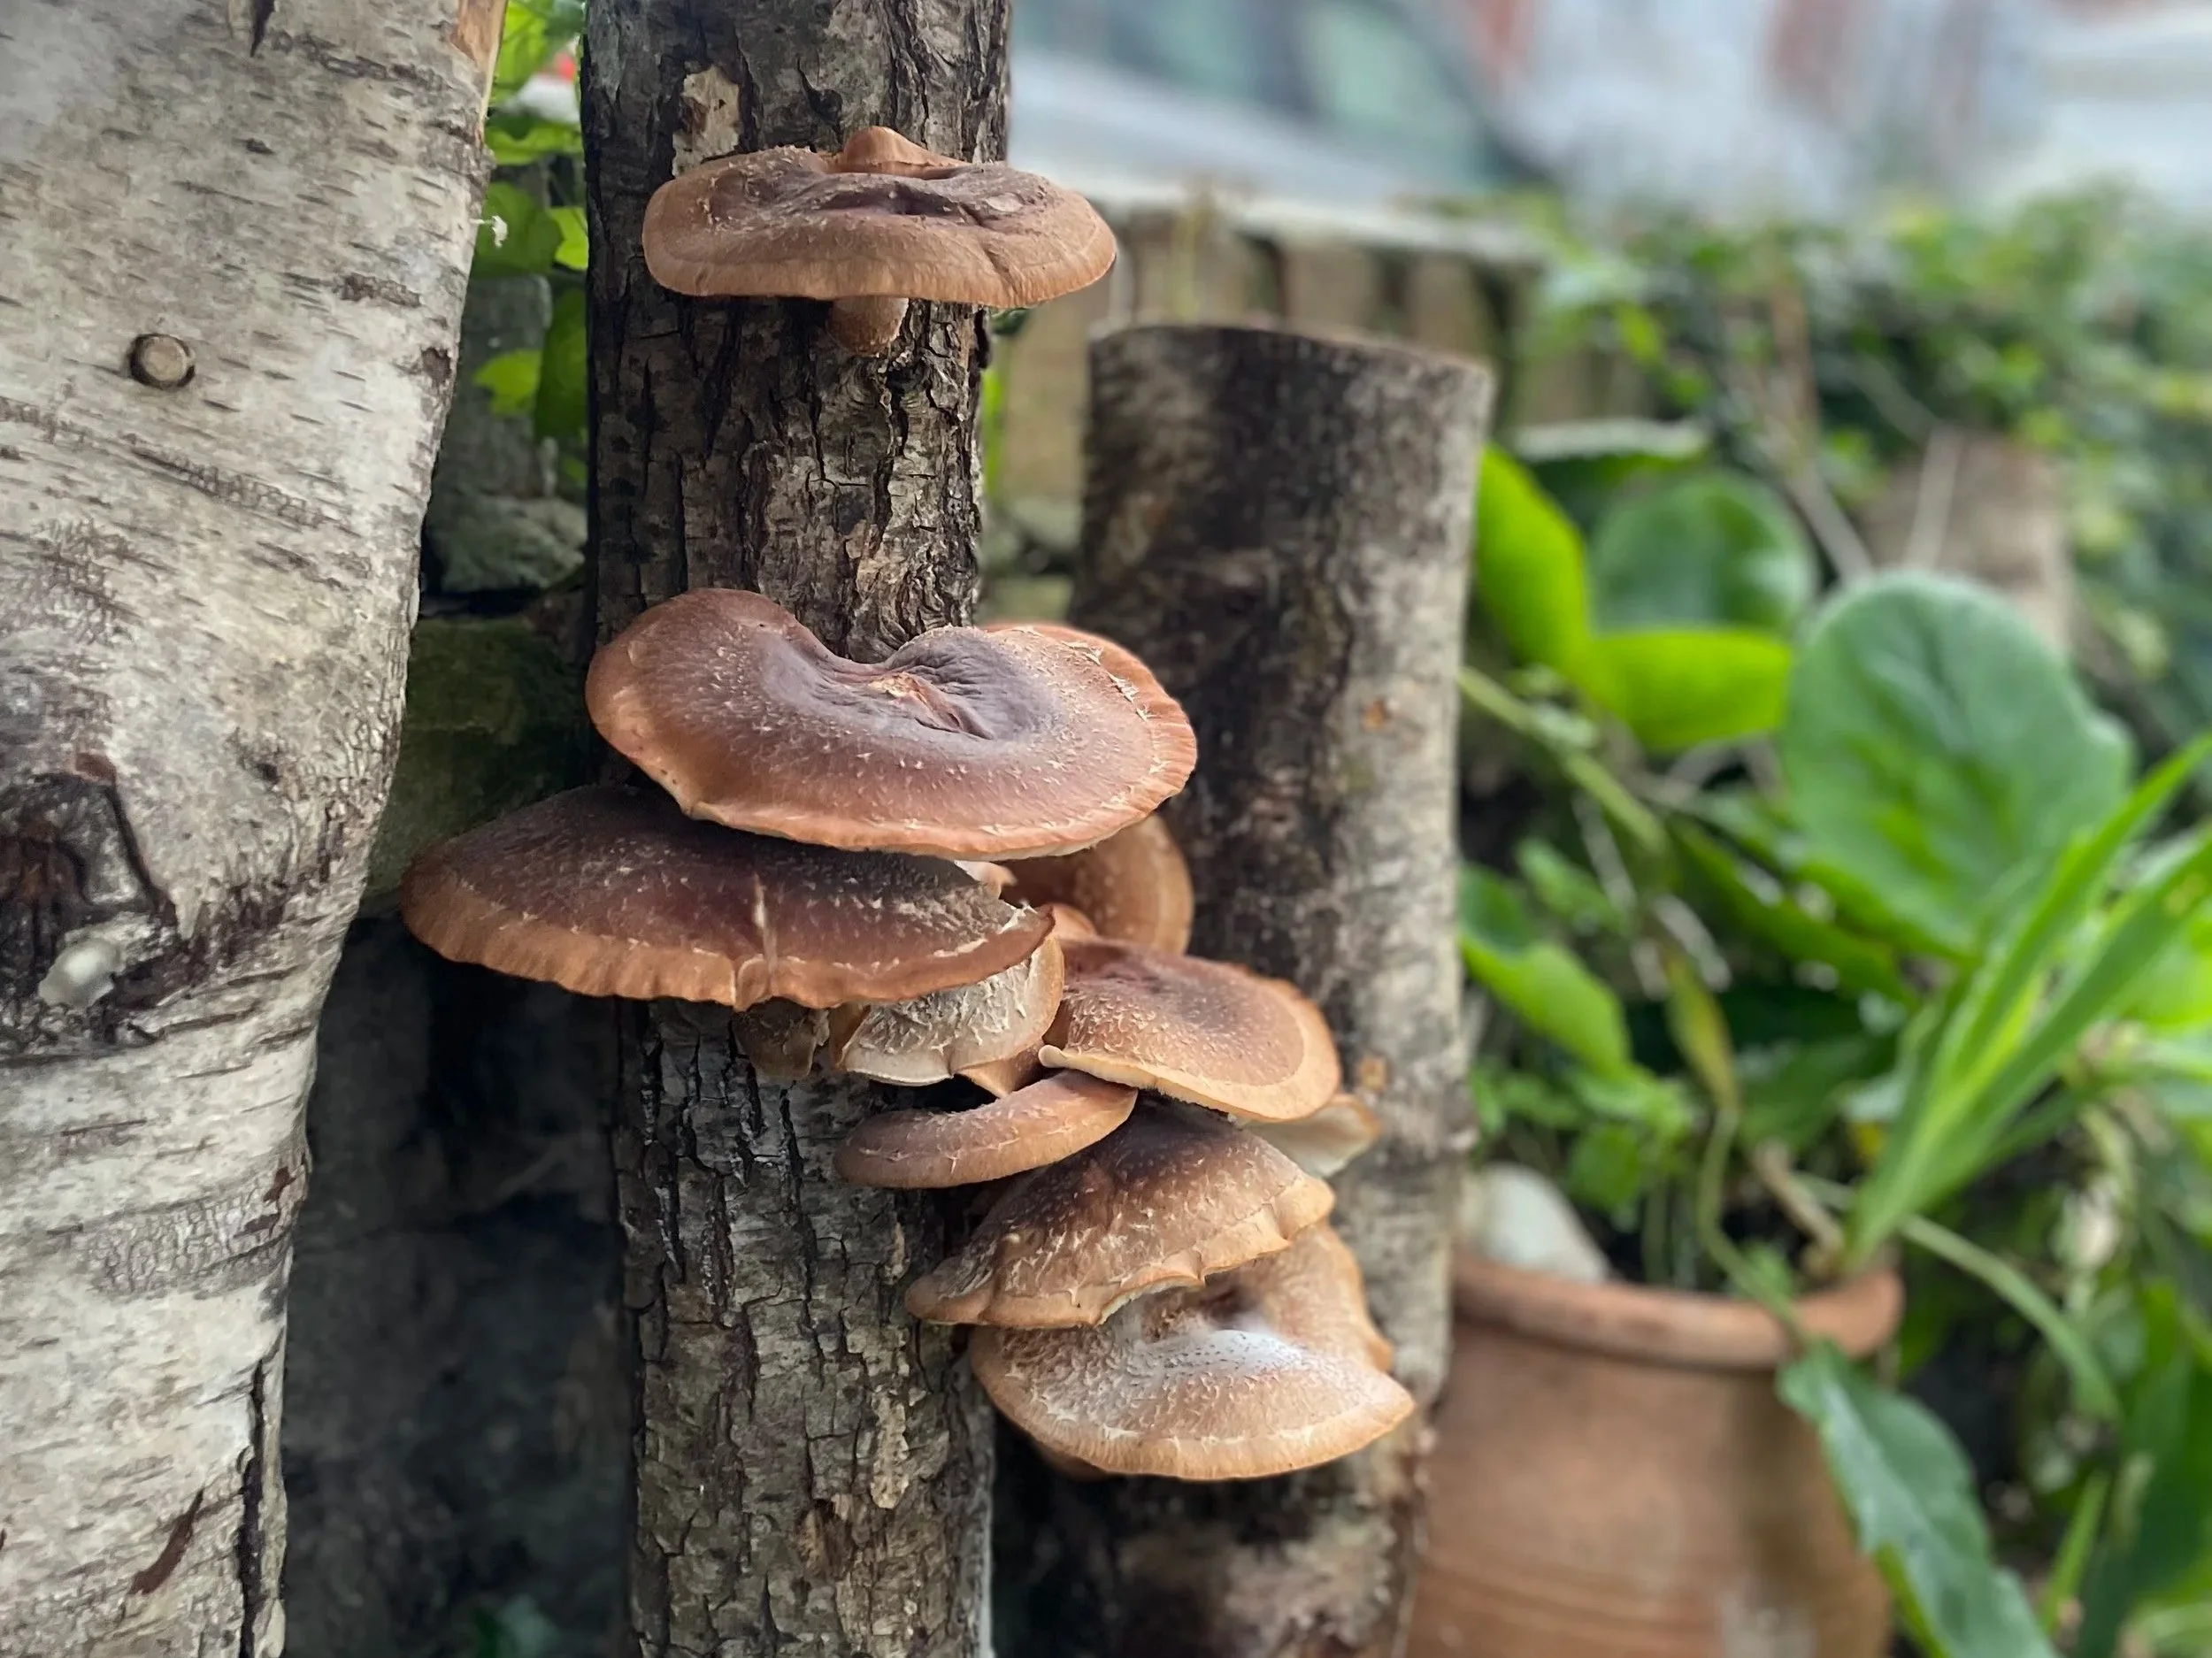
For example; to grow your Shiitake, you will need to remove the outer plastic bag entirely - this will allow the mushrooms to grow all over the kit. Our Lion’s Mane and King Oyster kits are opened just at the top of the kit, and the Oysters all grow from an ‘X’ or a ‘/’ shaped opening cut into the front of the grow bag.
DO NOT cut big holes or squares in your protective grow bag, all the openings within the instructions are to help you create the best growing environment for your mushrooms.
You can also access all our instructions online via our blog.

Growing environment
All our kits are recommended to be grown in a room with enough light that you can read a book by during the day. Because mushrooms don’t photosynthesis the light doesn’t need to be natural, they’ll get all their nutrition from the substrate block, and will just use the light to initiate growth. In our commercial grow rooms, we use artificial light to help our mushrooms grow.
Watering
Regular watering of your mushrooms is important. Mushrooms appear in the wild after a period of rainfall, and humidity levels can affect their growth. If you under-water your kit either the substrate or the mushrooms will dry out and not grow well or at all. If you over-water your kit, or water begins to pool within the bag, you could encourage mould to take over.
The recommended way to water your kit is to invest in a mister. This will give your kit an even and light spray, tap water is ideal.
DO NOT leave any standing water on the top of your kit if it is a top fruiting variety, similarly with the Shiitake kits, don’t let it sit in a puddle of old water. Simply tip away any water that collects.
Hygiene
When growing mushrooms, you are creating an ideal environment for all kinds of bacteria to grow, providing warmth, a food source and moisture. Handling our kits, especially the book kit and coffee kit or even when cutting openings in your grow bag - ensure you have very clean hands, clean scissors, and clean utensils.
This is to reduce the risk of contamination of your substrate and your mycelium not growing well.
Our aim is good healthy mycelium, growing and consuming the substrate, so you can get an excellent crop of mushrooms from your kit.
Temperature stability
If your kit is placed to grow in a spot that has huge swings of high to low temperatures this can create issues with moulds growing. You can help avoid this by keeping your kit away from direct sunlight and any sources of heat like a radiator or boiler cupboards.
With our coffee kits and our book kits, we recommend storing your kit in a kitchen food cupboard for the incubation stage, away from ovens, dishwashers and other fluctuating heat sources.
Lion’s Mane
The Lion’s Mane mushroom is particular about where they are situated. They don’t like a breeze, as this can cause the growing mushroom to go solid and turn brown.
The mushroom also doesn’t enjoy being sprayed directly - we encourage you to spray the inside surface of the open grow bag to create a humid environment.

Storage
Our Pink Oyster mushroom kits must be started immediately. They don’t like to hang around and the spawn can’t be chilled below 8 degrees as it’ll cause it to perish, so get growing straight away.
All our other kits can be stored in a fridge for a short period of time before being grown – always read the packaging and instructions for guidance and storage advise.
Keeping your kit chilled, slows the growth of the mycelium and mushrooms forming.
Harvesting
Once your mushrooms have grown to a good size, when the caps have flattened out and are ready to harvest, remove all mushrooms at once. If you harvest a few at a time, the rest of the mushrooms will begin to wither and won’t grow more.
After you have harvested your crop, consider trying for another flush. If you’re keen to try again, you’ll want to rest your kit in a clean, dark space with a steady temperature for ten days. Once the mycelium has had a chance to grow again you can try for a second crop.
The substrate block at this point is more susceptible to contamination, so do be mindful of clean hands when handling your kit and look out for green spots appearing. After 7-10 days soak and water your kit, the second harvest will take longer to appear than the first.


Once finished
When you have finished growing: Remove your substrate from the plastic bag - you can recycle the plastic at any large supermarket facility.
Your fruiting block should be left to dry out, then disposed of into your household waste. We do not recommend composting or putting yellow or pink oyster substrates into your garden, compost or food waste. You can read more about this HERE.
Our passion is to get everyone growing, if you receive your kit and you don’t feel it is in the best health, do get in contact. Please make sure you read all instructions so you can store and care for it correctly. Most of all we love to guide everyone on their growing journey, we’re always available to answer any questions you may have.
And always get in touch and show us your mushrooms!
Mush Love x
Ⓒ Caley Brothers 2024
Latest from the blog